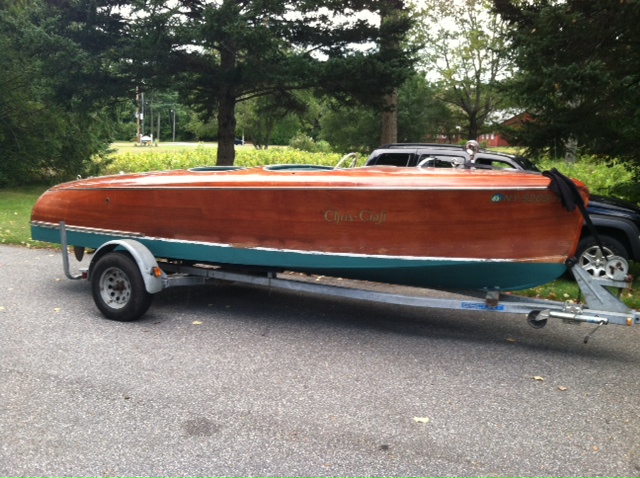
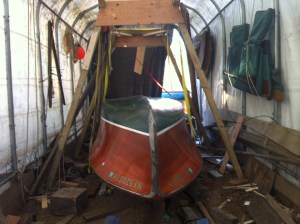
When Say When II came to me she had been in storage for about ten years awaiting restoration. There were a number of problems in the bottom that needed attention. In the end we decided to replace all the timber below the chines. Previous restoration attempts had introduced a lot of mixed metals and insufficent wood sealants. WIth various rot throughout her bottom and considering her being over 70 years old it was decided everything below the chines would be replaced. We decided the bottom would be double planked with the inner layer laid diagonally and the outter longitudinally like the original, however the layers would be bonded together using modern marine adhesive.
Once The interior was removed, molds were built at each frame to help maintain the shape while the different timbers are replaced.
A small flipping frame was built as we didnt’ have any overhead lifting gear.
The keel showing decay from plain steel bolts mixed with a bronze prop strut and prop shaft.
Decay along the keel on the old frames
The planks still had the original canvas gasket between the plank layers, but the bedding compound had long since washed out. Various areas had different solutions to the water seeping through. Some areas had cotton driven in, and others had marine adhesives pushed into the seam.
The replacement frame parts,
Replacement keel laminated out of Mahogany.
Here the old keel is being used to double check the frame spacing on the new keel for the new floor timbers
Dry fit on the boat.
New Keel and frames installed
Diagonal planking
Dry fitting the outer longitudinal planking
The two layers were then bedded together with a rubber gasketing layer of 3M 5200. Once cured the planks were faired smooth
Prime coat
Prepared to flip back over
The flipping jig worked great, and enabled the boat to be turned over single handed. The heavy deck ballanced well against the bottom so there wasn’t much of a tipping point where it wanted to move on it’s own or out of control like most hulls.
Here the inside of the bottom is ready to be cleaned, primed and then to have the engine and interior reinstalled.


