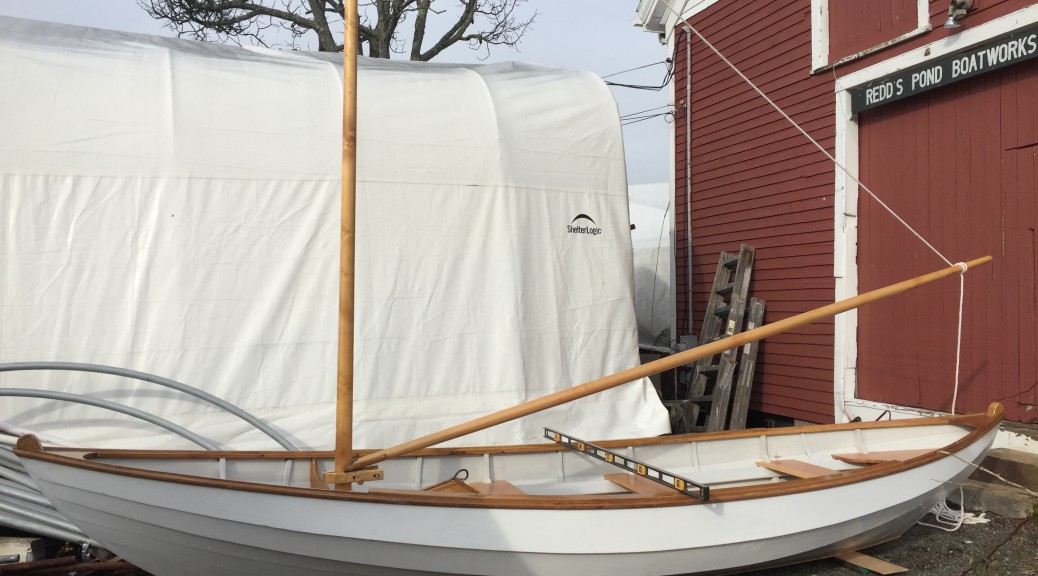
This past fall and winter we have been working away doing a full restoration on an early Herreshoff S-class. The boat has been sitting on the hard in Marblehead for about 20 years after being damaged in a yard fire. Some restoration work had been started under the previous owner, but our hope is to get her back as close to her original shape as possible for racing in the Narragansett fleet. With this goal and an almost 100 year old boat almost all of the hull will need to be replaced. Below are some photos of our progress thus far.
previous restoration work was holding in a lot of deformity in the hull from decades of sitting on poppets and sagging sheer.as we got the restoration started the remaining interior was removed to be refinished and hopefully replaced.Some older plaking was still in place, but it is so old that it has become very brittle and weak so it will not be re-used after the restoration.Aft view of the hull before restoration. Showing some old material and some from a previously started restoration.Using measurments taken from the original NGH half model we lofted the boat full size to use as our ultimate shape, trying to take into consideration changes made before this boat might have been built.a mold was made to the inside of all the even franes to dictate the shape as the restoration comneced.Herreshoff specified tapered frames, lowering the boat’s weight where he could.Floor timbers were made from templates lifted straight from the loftingThe molds were inserted into the hull with frames and floor timbers attachedWith molds in the existing planking was doubled up to be used as ribbands as the odd frames were bent in.The transom frame was build up of a few peices carved and steambent to the correct camber.Transom knee and stem were found in a single oak knee.With the frames and floors installed the hull was separated from the balast keel and deadwood.The lead balast and deadwood were wedged open to expose the keel bolts which were cut to separate the hull.With the ballast removed a ladder frame was built level under the hull to serve as a strong back for the restoration of the hullWith the mast on the bench, the ballast and deadwood away from the hull, and the hull on the strong-back, all major components of the restoration can be worked on simultaneously.
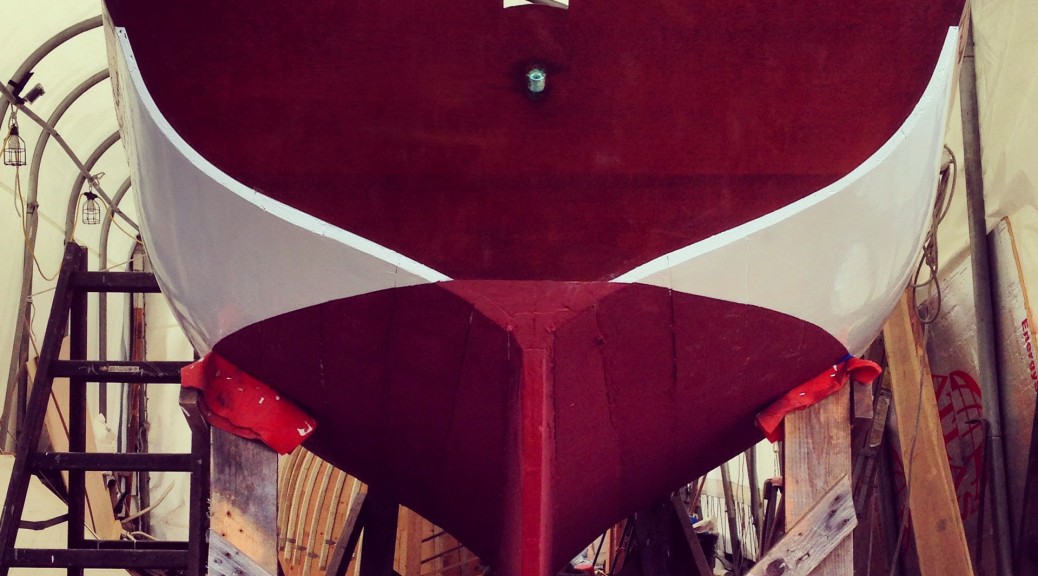
The full length keel was steamed in a bag for 2 hours before being bent on to the building plug.Once clamped down and cooled the keel was fitted to the upper deadwood and oak backer as well as bolted to the floor timbers.
This boat was built new in the fall of 2016 to designs found in John Gardner’s Dory Book. I used the lines of Gerald Smith’s 17′ version he adapted from the original Chamberlin molds that he had acquired. Working with the owner I developed a mix of details from a number of dorys to make sure he had exactly what he wanted. We also added an adapted version of the Beachcomber dory rig John Gardner presents in the 19′ Marblehead Gunning Dory. The hull is planked in cedar, the stem, sawn and bent frames, and inwale and sheer cap are of oak. Copper rivets and bronze screws. The rig is solid sitka spruce.
Below is a brief description of our dory building process for this boat.
Bottom board assembly
First, here is the bottom board made up with each station’s frame fastened on along with bow and stern stems and bottom board cleats. I Then flipped this assembly over onto a sturdy building jig which allows me to both plank more comfortably and hold the boat to shape while I bend on the planks.
Here is the boat right after being flipped off of the planking jig. I leave the frames extra long to make sure that the boat holds it correct width at the stations and each cross brace is made specially so that the bottom board has the right amount of camber in it.
Flipped
Lucky to get some VERY clear cedar from Florida for this boat. This photo is taken while the seams are riveted tight to keep the hull water tight.
riveting
Once riveted I moved on to seat risers and thwarts. These enabled me to remove the cross braces and install the inwale to stiffen up the sheer plank.
Inwale install
Once the inwale was installed I removed the thwarts and seat risers again to install steam bent frames between the sawn frames and the centerboard trunk.
Centerboard trunk install
The hull is coated in Linseed oil based Varnish and paint allowing good protection while moving with the seasonal dry/swell cycles. Here the centerboat trunk cap is being fit with the bronze rod centerboard lifing bar.
Centerboard trunk cap
The spars are made of 2 face glued pieces of sitka spruce. By inverting two pieces of the same board you can achieve a much more stable spar as the tensions in the wood can counter-act each other through the seasons. Here I am cutting down the squared adn tapered stock to 8 even sides, before 16 and then 32 sides before being sanded to a smooth round.
Rounding the mastMast alignment
Now with the hull coated, the rig finished and varnished final rig details are completed. Mast partner knees, boom jaws, leathers on all chafe points. removable sole boards, stem fittings for the jib, oar lock sockets, etc.
The beachcomber rig has a great look! I can’t wait to see how she rows and sails.
Woodwind came to the shop with a recent survey mentioning a few concerns including open plank seams, loose fasteners adn some separation of repairs in the rig. While she was still being actively said in the summers the owner brought her in this past winter to get these issues addressed.
Woodwind on arrival was showing her topsides plank seams and her seams below the waterline were dry and open after a winter out of the water.
The garboards were removed to gain access to the bottoms of the frame ends and their fasteners. Once they were off the floor timbers were more decayed than originally thought. The decision was made to replace the worst of them during the reframing process.
Once the garboards were removed the floor timbers showed more decay than they initially revealed.
The frames were bent in from the bottom to enable leaving most of the deck structure in place.
While the initially we hoped to just replace half the frames it was found that almost none of the frames aft of the forward bulkhead could hold fasteners.
The remaining plank fastenings were replaced and then the hull was refaired. All the finishes were then restored for a cosmetic overhaul.


