
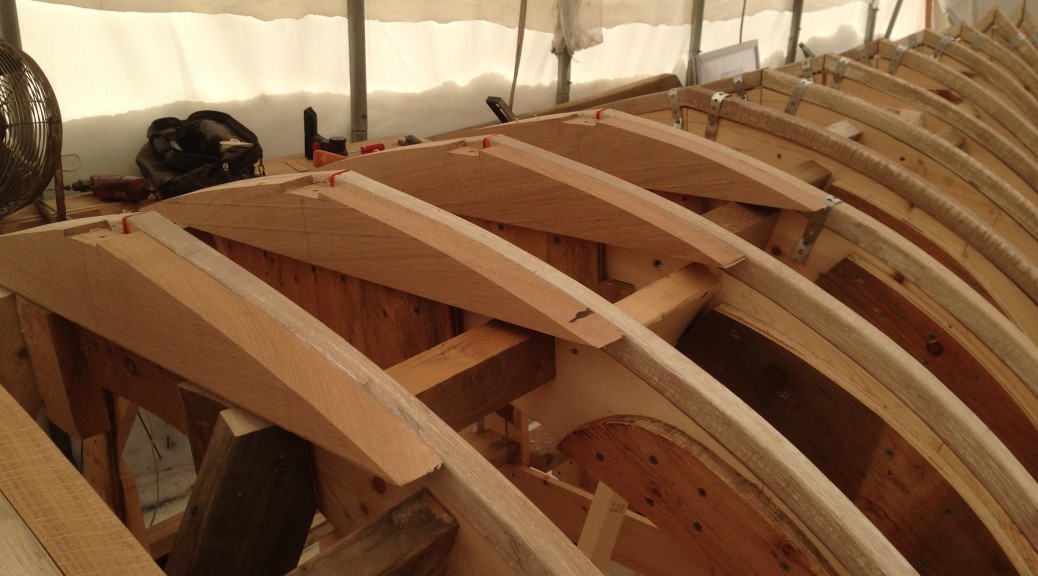
This is the first boat I have framed outside in tempatures around zero. I was nervous about the frames being able to retain their heat from the steam box long enough for me to be able to bend them around the mold and get them secured. Because of this concern I gave them all a coat of paint prior to steaming, which helps retain more moisture/heat. The paint sealant and the great framing stock worked great together. They look a bit funny with the steamed paint which will need to be scraped before they get their next coat of paint, but I only broke a couple frames in the transom where there is a significant recurve and twist.
Once framed I set to making and installing floor timbers. I used a sheet of plastic Mylar to trace a template off the lofting reduced by only the planking thickness this time, and compared it to the molds. Once satisfied with the fit I took bevels on the hull and transferred them all to the oak. .


I stumbled upon your site while digging around for ideas on building oars and paddles. The person linked to something about mast building in your shop. Very nice. Years ago I was doing work for Bob Lovejoy of W Newbury, who was having a schooner built by (I believe) Charlie Powers in Newburyport. Bob wanted me to finish the schooner, so I went to look at it at Charlie’s house, where he had been plugging along on it for years, as his time and Bob’s money allowed. It was outside under a poly enclosure and was lovely. I didn’t wind up doing the work, although I did obtain masts from connections in N. VT, where I have a house. The schooner is Puritan, which Bob has given/loaned to Maine Maritime Academy. Looking back, I wish I could have managed to complete the boat, but I lacked the experience for the masts and rigging and Charlie was tired of the project. I wish I could find the photos of the trip when we brought the masts from VT! Everyone involved added a bit to the length “for good measure” so the longest stick wound up being 56 feet! That’s for a gaff-rigged 35 footer. That’s 8 or so people in series, each adding 2 feet, or something like that. I’ve always wondered what Charlie though when he saw them.
I enjoyed seeing the process for the frames for the steam launch, especially the nice job on the plug parts. I agree with getting those perfect to save work later. I’m looking forward to seeing the keel fitted and planking. Have you selected power? I was talking to Jack Winninghoff recently, who is all wound up about electric yachts, which are apparently a real old thing. He claims he’s going to power one of his aluminum boats with an electric motor from Elco. That would be a lot simpler than steam! But not as much fun. Either way, I look forward to seeing progress on the launch. Thanks for your post.
Mike